
Data from Table Pages can be sent to Excel and then compiled to create a report that contains all pertinent information. You may want to make a report for one specific Table Page (e.g., 16a) or you may want to combine multiple Table Pages to create an Excel file that contains all information for a Table (i.e., combine Table Page 16a and 16b to form a complete Table 16).
- The first step to create an Excel report is to export all the objects from the Table Page of interest. Objects include the Data, Footnotes, and Legends (if applicable). In the upper right corner of each Table Page object is a “send to Excel” icon. Click on this icon to export the data.

Interactive Application: Send to Excel(Data)When prompted, save the Data file ("save as") in a known location and name the file with the Table Page number (i.e., 16a)
Note: Depending on your computer’s settings, the prompts and options that appear when downloading the file may differ. You may be prompted to allow pop-ups or you may be asked to open the file in a new window - Repeat Step 1 for the Footnotes and Legend of the same Table Page (i.e., 16a). Save these files in the same known location with unique file names (i.e., 16a_footnote and 16a_legend).
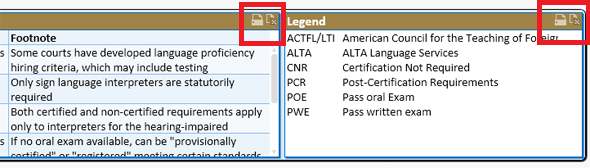
Interactive Application: Send to Excel(Footnotes and Legend) - If you would like to create a report to represent an entire Table (i.e., 16), you must repeat Steps 1 and 2 for all Table Pages included in the Table (i.e., send to Excel the Data and Footnotes for 16b as well as 16a). In these instructions we will reference five exported files: 16a (Data file), 16a_footnotes, 16a_legend, 16b (Data file), and 16b_footnotes.
- Exported Data from Excel will not contain Table titles or Table Page headers and these will need to be added manually. Open the saved Data file (16a) and insert 2 rows above the Data. In the first row type the title of the Table (i.e., Table 16: Court Interpreters). The title of each Table appears at the top of each Table Page in the Interactive Application. In the second row type the header for the Table Page (i.e., 16a Certification Requirements). Table Headers appear in the dark blue band at the top of the Data in the Interactive Application.
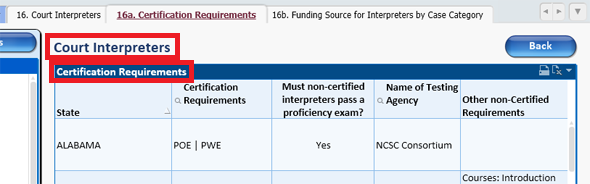
Interactive Application: Table title and table page header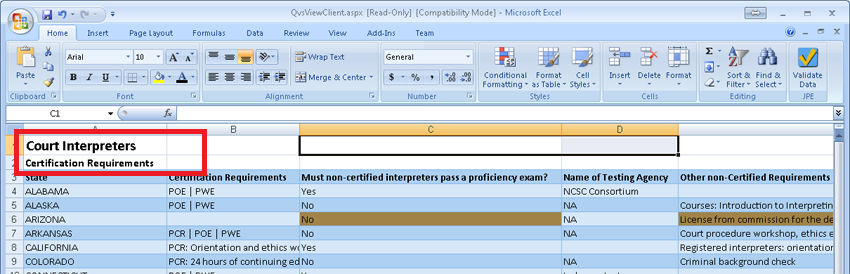
Excel: Rows added for title and header - In the Excel export, cells containing multiple lines of text may appear as ###. In order to fix this problem, highlight all the Data cells in the exported Excel Data file (16a) and right click. Choose “Format Cells” from the menu listed. Navigate to the first tab, “Number,” and select “General.” All the Data should now appear as text. However, you may need to resize cells and wrap text to properly view cells with multiple lines of text. In these instructions, screen shots do not show formatted/wrap text cells.

Excel: Change format of Data to GeneralNote: The Interactive Application may not export the Data in the format you desire. For example, numeric values may be formatted as text or you may not wish to have color shading. In order to create the report that you want, you will need to make these formatting changes within the Excel file. - You now need to copy and paste the Footnotes and Legend into the Data file (16a). Open the Footnotes file you saved originally (16a_footnotes). Highlight all the Footnote cells (columns and rows). Right click and “Copy” this selection. Open the original file (16a) and paste the selection below the Data. It is a good idea to leave two blank rows of cells below the Data but before the Footnotes section. This will give you a cell to label the Footnotes (16a Footnotes) and an extra row of cells to differentiate Data from Footnotes. Be sure to save your Excel file often as you begin to incorporate multiple objects into one file.
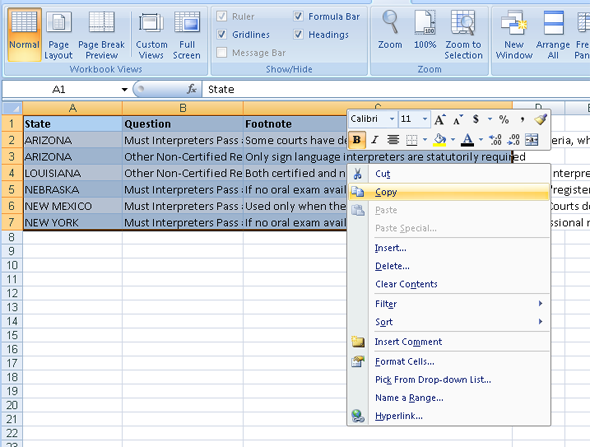
Excel: Copy Footnotes from 16a_footnote file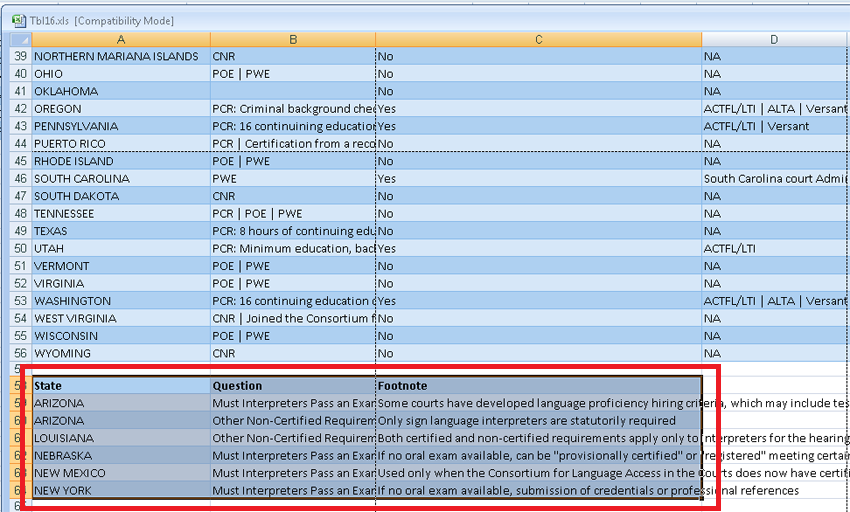
Excel: Paste Footnotes from 16a_footnote file and label in a row above - Repeat Step 6 with the Legend (if applicable for your table). We have placed the Legend in the column to the right of the Footnotes (same row) and labeled the Legend in the row above. Depending on your design preferences, you may want to place or “paste” the Legend in another location.
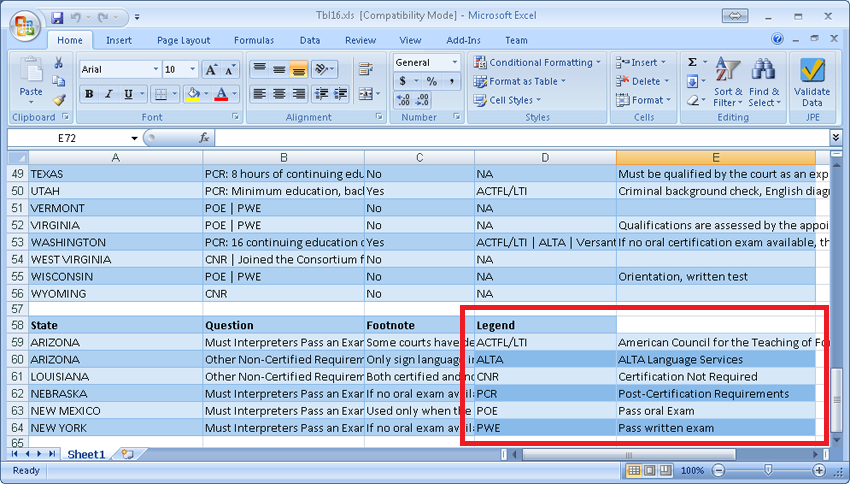
Excel: Legend into 16a file and label in row above - If you only want the information from one Table Page (16a) you now have all the information in one file. Format the objects as you desire and then skip to Step 14.
- If you would like to combine multiple Table Pages into one Table (i.e., add 16b to 16a to form a complete Table 16), you will need to open the 16b Excel Data file you saved from Step 3. Highlight all the Data from your additional Table Page (16b and copy this section. Paste the additional Table Page Data (16b) into the original file you started (16a). Paste the Data in the same row as the original Data (from 16a).
- Manually enter the Table Page header in the row above the additional Table Page Data as you did in Step 4.
Excel: Paste 16b Data into 16a file and label Table Page header in a row above - Repeat Steps 6 and 7 to incorporate Footnotes and Legends when applicable.
Excel: Paste 16b Footnotes into 16a file - In this example, Table 16 only has two Table Pages (16a and 16b). If your Table of interest contains more than two Table Pages, repeat Steps 9-11 until all necessary Data, Footnotes, and Legends are incorporated into one file. Remember to save often and label each new object with the appropriate header.
- Format cells to meet your specific needs and design preferences.
- The final step is to add a citation into the footer of this document. Under the Page Setup Menu, navigate to the Header/Footer tab. Insert the following text for citation of the data:
S. Strickland, R. Schauffler, R. LaFountain & K. Holt, eds. State Court Organization. [Last updated day month year]*. National Center for State Courts. [Accessed day month year]. .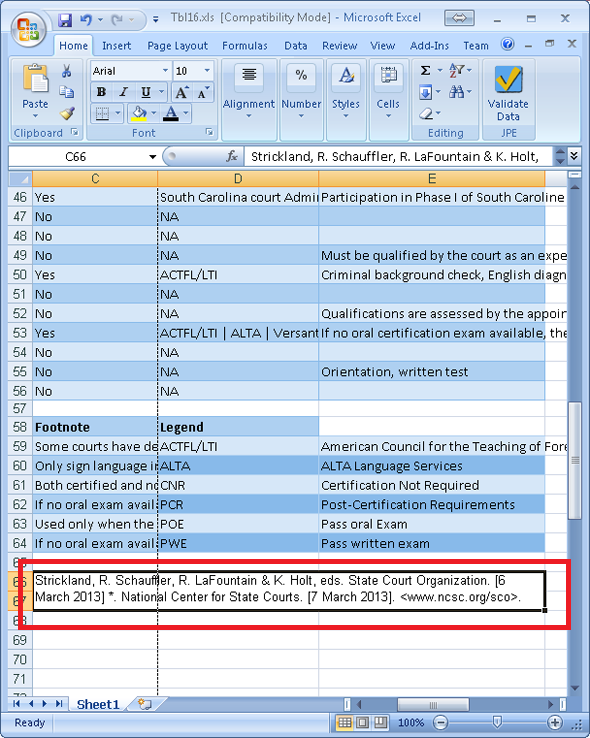
Excel: Print preview with citation in footer
* The "Last updated date" can be found on the State Court Organization homepage.